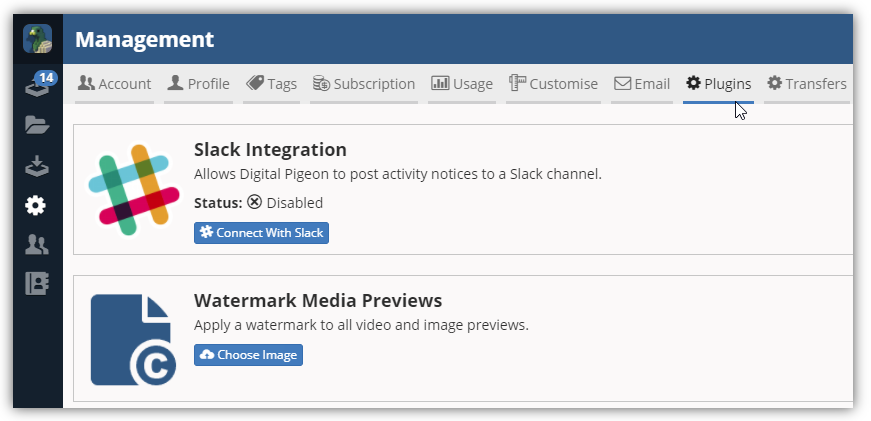
Digital Pigeon is empowering you to protect your files by adding unique and authentic watermarks. Configured watermark will appear on the videos and images that you uploaded. Read our Watermark Plugin Blog to know more about this feature.
Start setting up your watermark media previews configuration by following these straightforward steps:
- On the Sidebar Menu, click Manage to open the Management page.

- Find and click Plugins tab. This opens the Plugins tab where you can add watermark to your uploads.

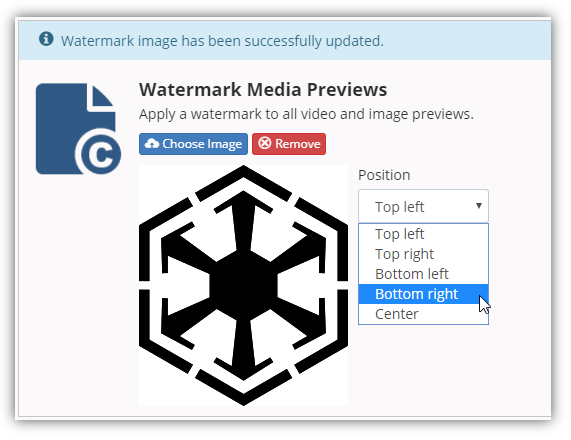
- Click the Choose Image button to select an image as your watermark. This opens the File Location window. In this window, find and select the image.
- Note: the file size should not exceed the 100KB limit. Use either JPG or PNG images. If you require an alpha channel functionality/transparency files, we recommend using a PNG file.

- Note: the file size should not exceed the 100KB limit. Use either JPG or PNG images. If you require an alpha channel functionality/transparency files, we recommend using a PNG file.
- Click Open to continue.
- Click the Position drop-down arrow to select the preferred watermark position. Available position includes:
- Top left
- Top right
- Bottom left
- Bottom right
- Center
- Note: remove watermarks by clicking the Remove button.


Comments
0 comments
Please sign in to leave a comment.