Zapier integration is currently in BETA. To set up your integration please follow the steps below:
- Request An Invitation
- Accept The Invitation
- Create Your First Zap
- Enable Zap and test real-world integration
- Next Steps
Initially we are publishing event notifications for the following events in Digital Pigeon:
- Upload File Commented
- Recipient Notification Bounced
- Upload Accessed by a Recipient
- Upload Expiring Soon
- Recipient Notified
- Upload Status Changed
1. Request An Invitation
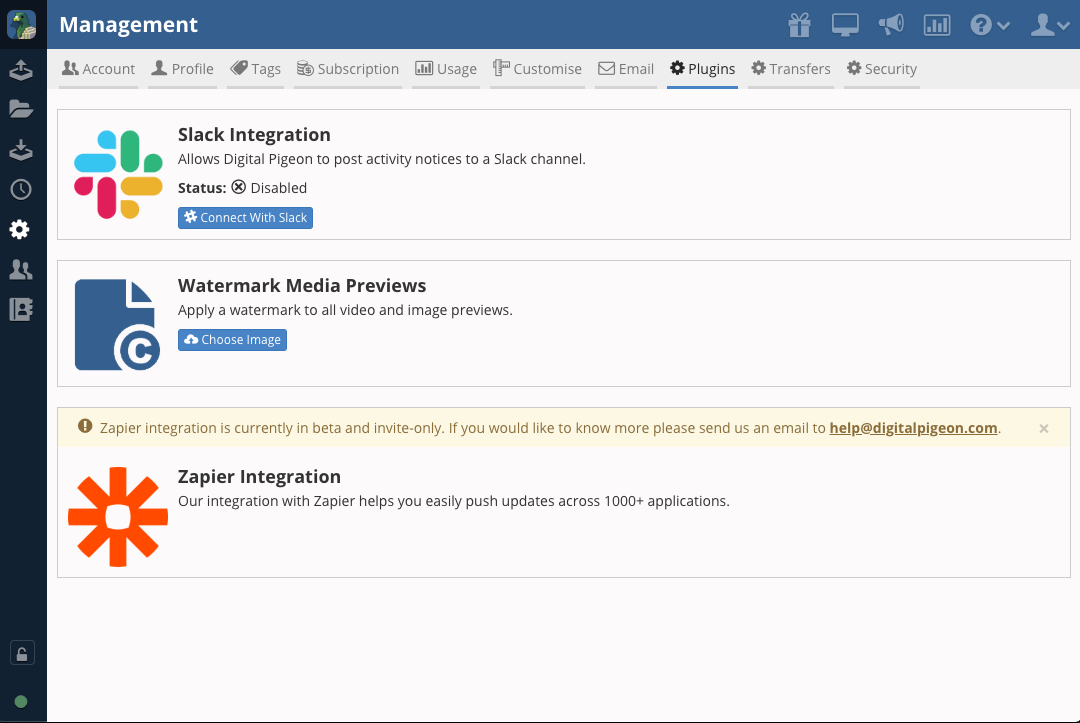
You can email help@digitalpigeon.com requesting an invitation. Alternatively navigate to "Manage > Subscription" in Digital Pigeon and click the link as shown below.
2. Accept The Invitation
Once the team here have sent out the invitation you will receive an email similar to that shown in the image below.
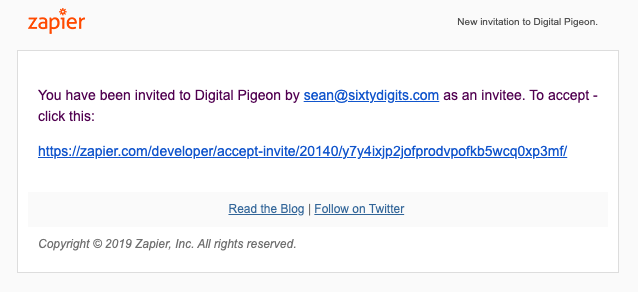
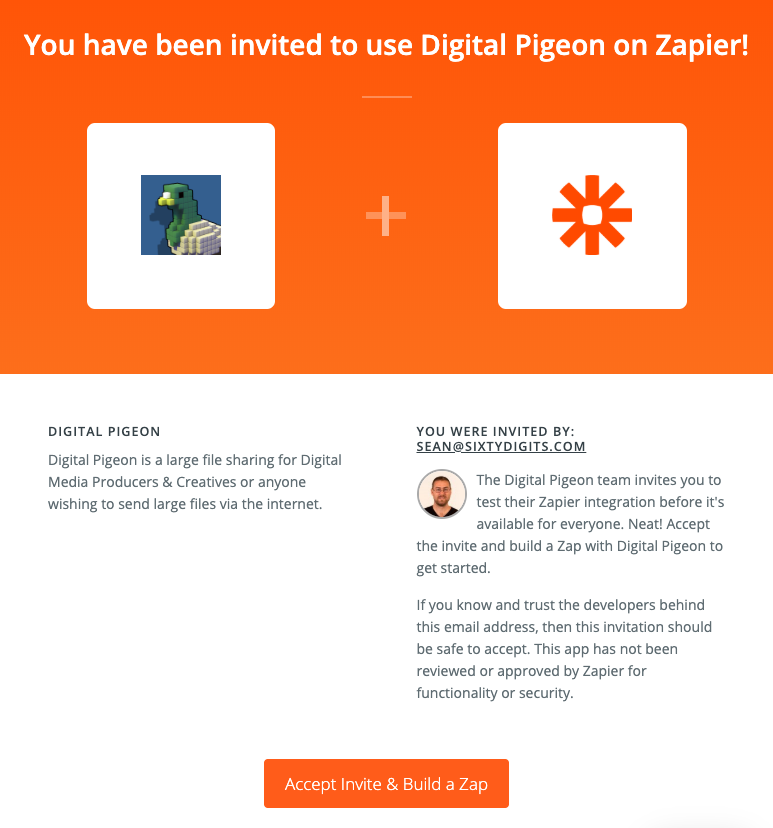
Clicking the link in the email will take you to a Zapier page as shown below (provided you already have a Zapier account).
3. Create Your First Zap
After accepting your invitation Zapier will load their Zap creation wizard. The screenshot below shows us setting a name for the Zap (AWESOME DIGITAL PIGEON ZAP) and selecting the initial Trigger Event which in this case will be a file commented event.
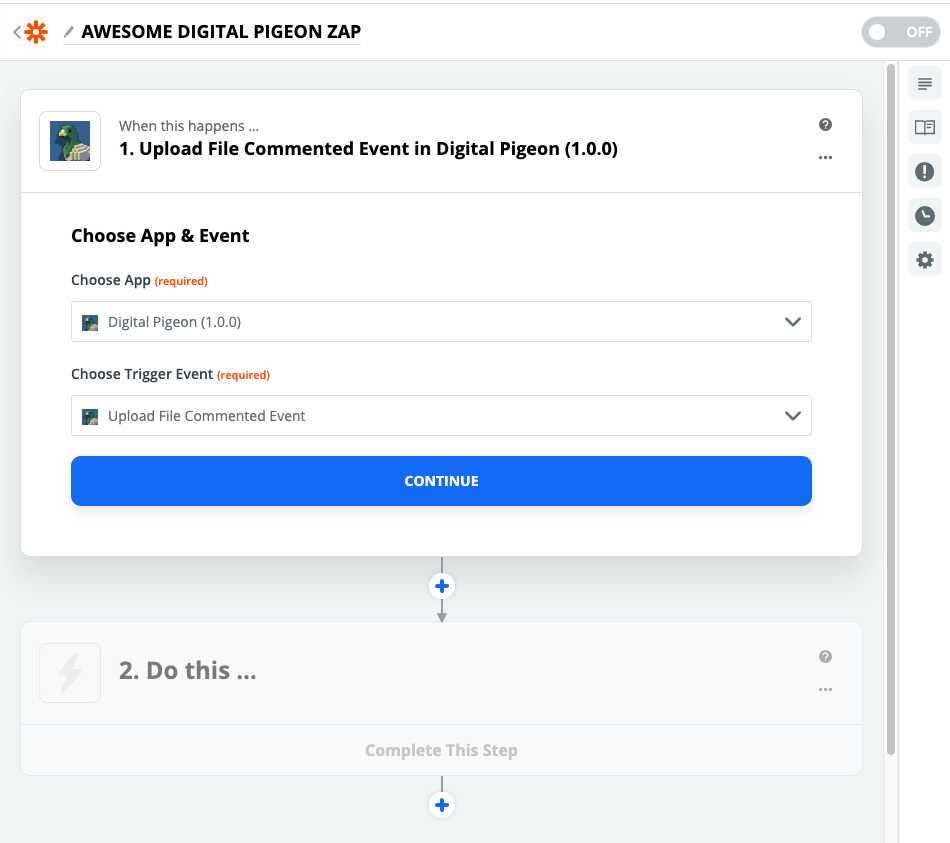
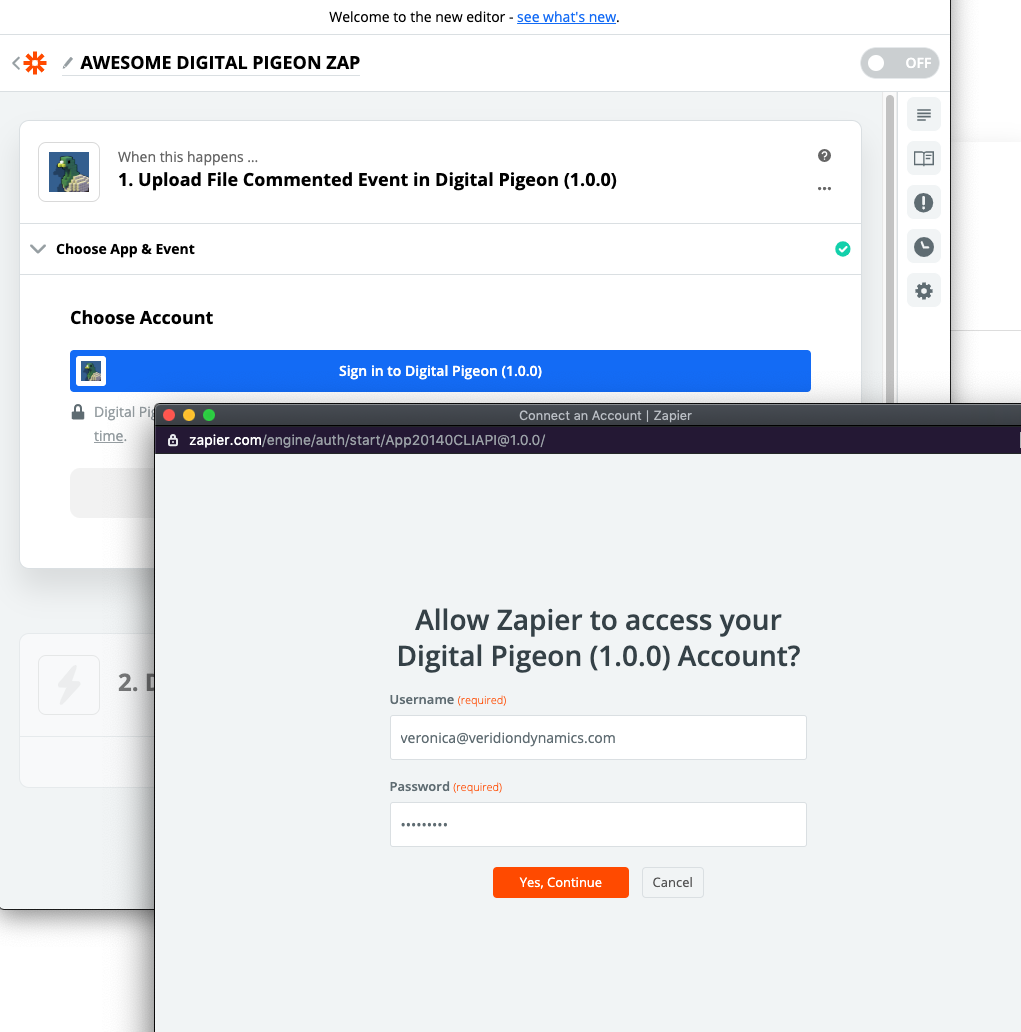
The next step would be to click the "Continue" button. Here you will initially be required to sign into Digital Pigeon using the email and password for your Digital Pigeon account. This will only be a required step for your initial Zap. All future Zaps you create can use this shared configuration.
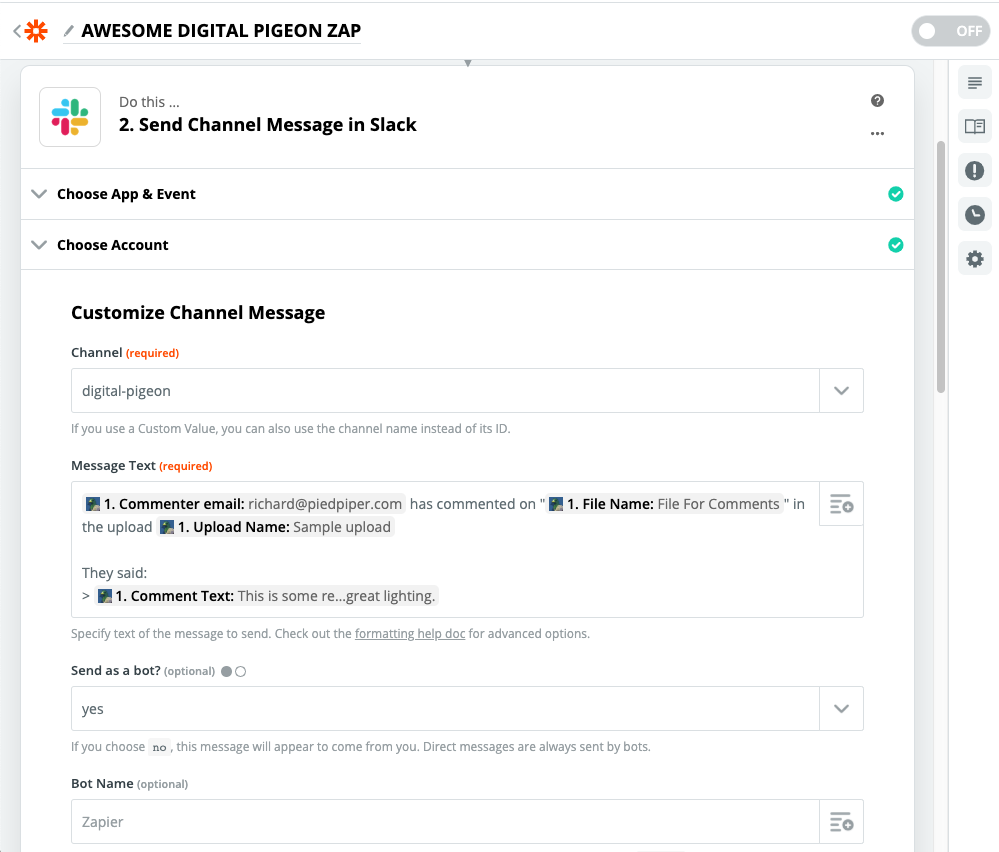
Continuing along you then have to choose what to do when the event is triggered. In our example we will post a message to Slack but you could perform any form of available application connection that Zapier offers.
We will skip some setup outlined below. The screenshot shows the message formatted for use in the #digital-pigeon channel in slack.
- Select "Slack" as the application
- Select "Send Channel Message" as the event
- Signed into Slack using our account details.
After things are set up how you would like them you can send through a test to confirm the output using the sample data. The shot below shows the message being posted in Slack.

4. Enable Zap and test real-world integration
Once you are happy with the format and configuration of the Zap enable it and you are good-to-go. For the sake of completeness you can test the in-application workflow as shown in the images below.
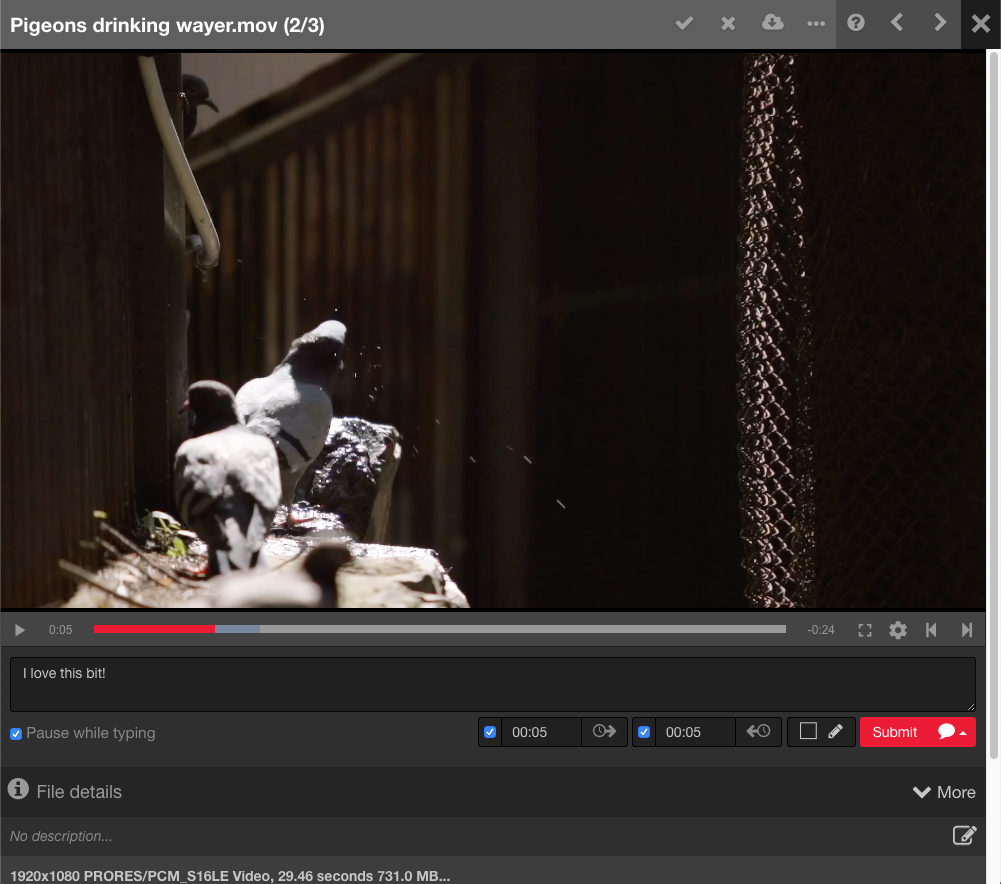
Adding the comment.
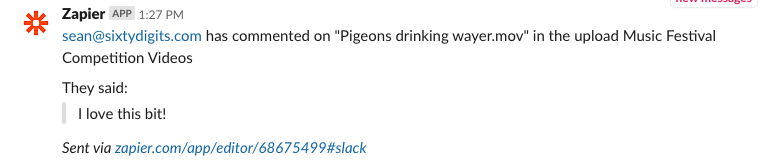
Comment appearance in Slack.
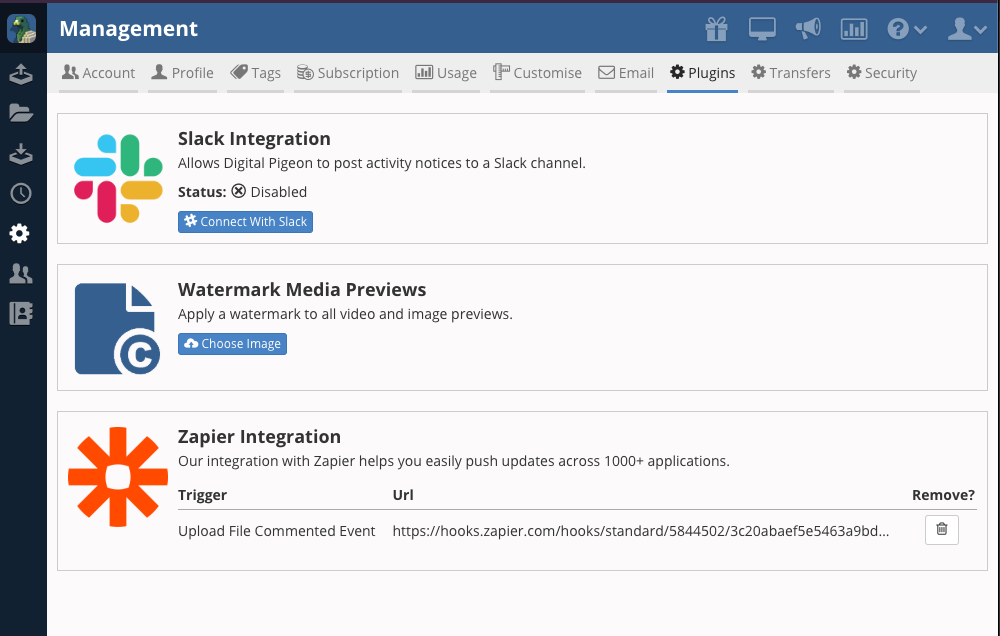
You can also see the current Zaps by Trigger name when you go to "Manage > Plugins" after setup. Here you could remove the Zap directly if you need to although we recommend doing this via the Zapier interface.
5. Next Steps
We recommend setting up other Zaps and integrate the notifications into your favourite application. If you do run into any issues please email through to help@digitalpigeon.com with details about the issue that you are encountering.
Over time we will add further functionality to this integration but hopefully you enjoy what has now been implemented.
For further guidance, view our short tutorial video.
Comments
0 comments
Please sign in to leave a comment.