Invite people to join your Digital Pigeon account and build a proactive team your company needs. Having multiple users managing your Digital Pigeon account on a role-based access enables you to improve client services and response time.
There are tons of benefits when you invite users to your account:
- Deliver professional and improve clients personal experience.
- Improves client service and response time with personalised notifications when someone downloads your files or send you new ones.
- Improve security by no sharing of passwords and easy to remove user access when an employee leaves the company.
- Improve confidentiality as users only see or access files meant for them.
- Greater control by limiting access to financial details, account settings, and more.
Each account has an allotted number of users depending on your plan. If the total number of users goes over the plan limit, an incremental cost will be applied.
To know more about the plan prices, open the Manage module’s Subscription tab. The Subscription tab displays the subscription plan that we offer.
Note: recipients do not need to be a registered Digital Pigeon user to receive and/or comment on files.
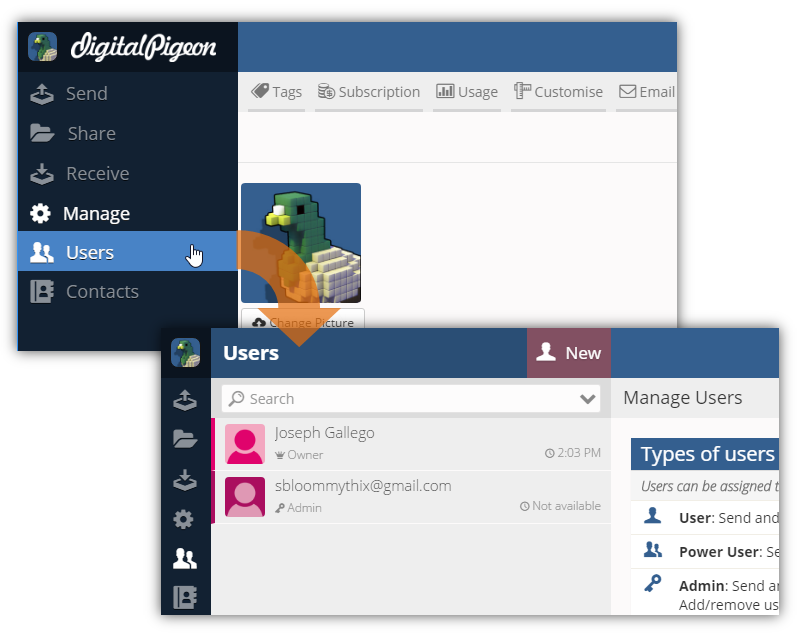
Step 1 Getting into the Users page
Open the User Module on the Sidebar Menu. You will be directed to the Users page. The Users Module enables you to create/invite new users and manage existing ones.

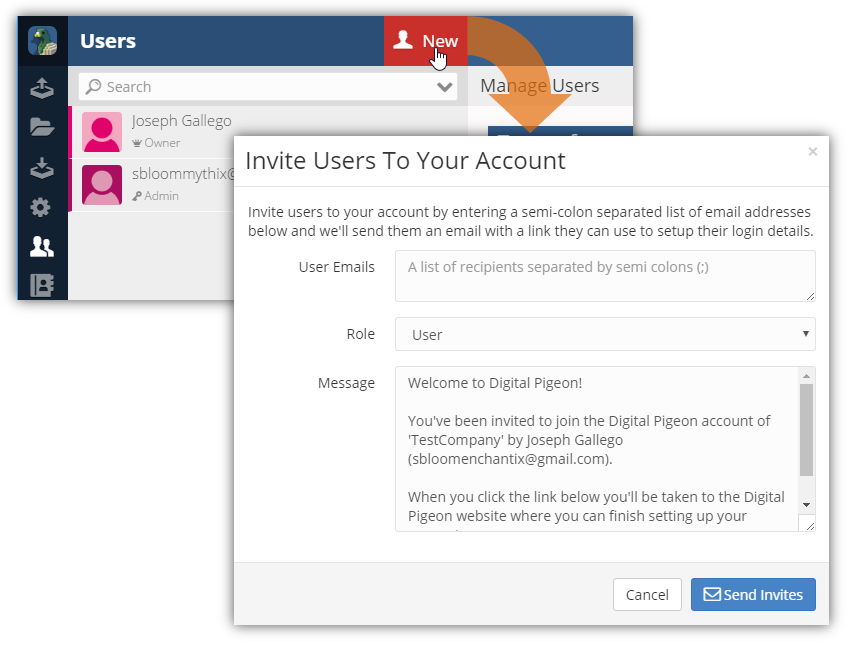
Step 2 Opening the Invite Users Window
In the Users page, click New to open the Invite Users to Your Account window. This window lets you specify the user’s email address, roles, and message.

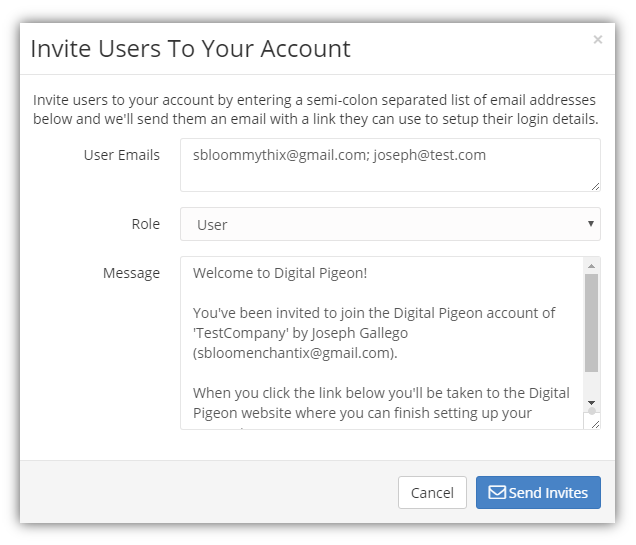
Step 3 Specifying User Details and Sending Invites
In the Invite Users to Your Account window, specify the user(s) details:
- User Emails: enter the user email(s), you can add multiple emails separated by semicolons (;).
- Role: click the drop down arrow to select the user’s role. If you are sending multiple invites, ensure that they are of the same role. You can send another invite for users who have different roles.

List of Roles
| Types of User | Roles |
| Owner |
|
| Admin |
|
| Power User |
|
| User |
|
- Message: enter the invitation message, you can enter your message manually or enter your company’s invitation email template. See Customising Email Invites to Users.
After specifying the user details, click Send Invites to send out the invites to specified emails.

Comments
0 comments
Please sign in to leave a comment.