By default, files expire after 3 months from the upload date. However, you can change the auto-expiration date for all files by updating the Account Defaults.
Changing the Default File Expiration
- Open the Manage module on the Sidebar.
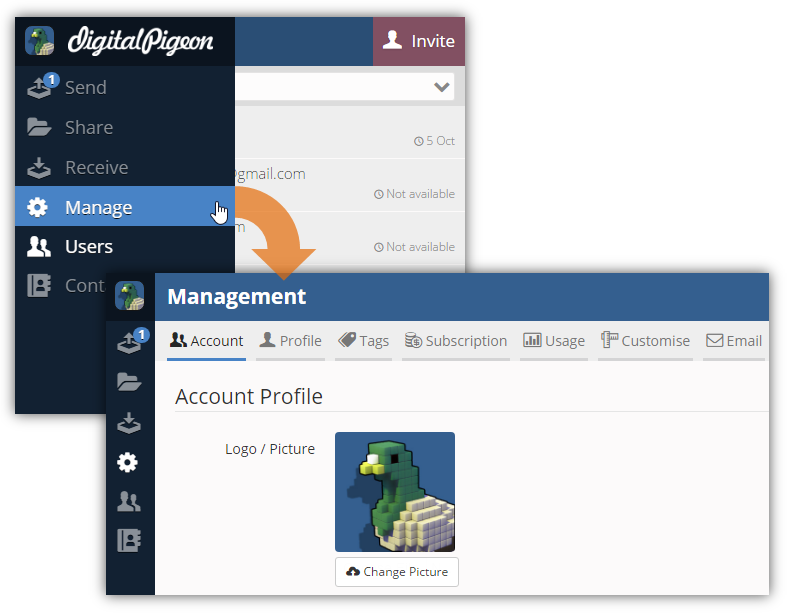
- By default, the Account tab is active when opening the Manage module.
- In the Defaults section, find the Auto Expire field and click its drop down arrow to select the preferred auto expiration date:
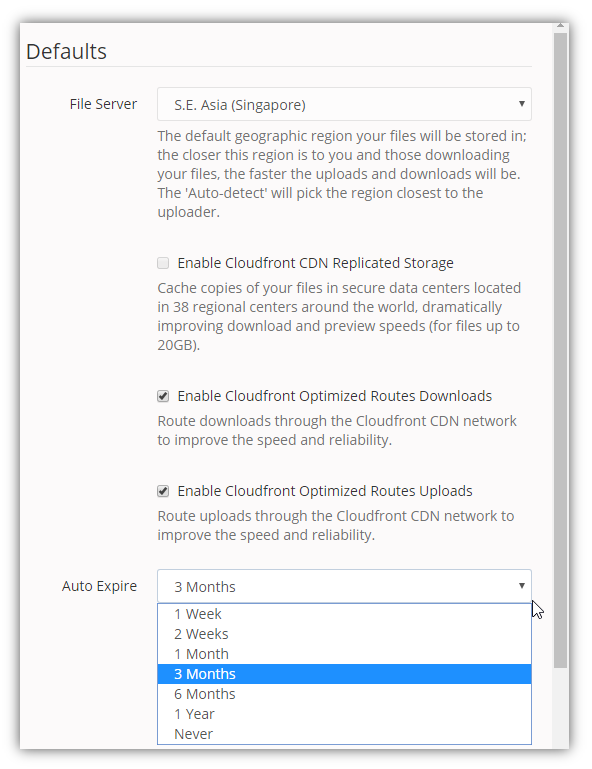
- 1 Week
- 2 Weeks
- 1 Month
- 3 Months
- 6 Months
- 1 Year
- Never
- Note: you can also enable the Archive on expiry feature wherein files will be moved to the Archived storage when they expire. It is important to note that when files are archived, users will not be able to download them immediately. It needs to be restored first before the files become available again.
- To make the changes permanent, click Save Changes.

Viewing and Updating Uploaded File Expiration
Uploaded files' expiration date is displayed in the Upload Summary panel of a sent, shared, and received files.
- Open a sent, shared, or received file. These 3 functions share the same method of viewing and changing uploaded file expiration.
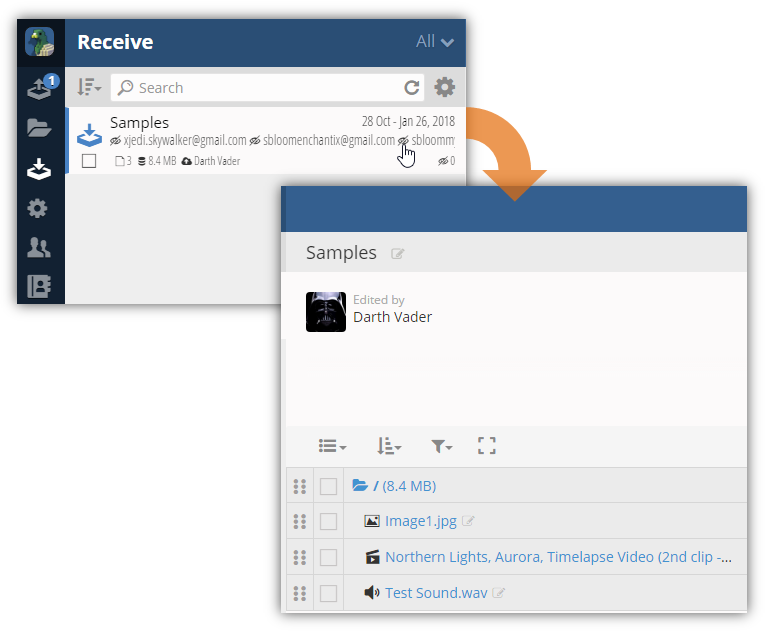
- In the Upload Summary panel, find the Calendar icon. The Calendar icon is followed by file(s)' expiration date.
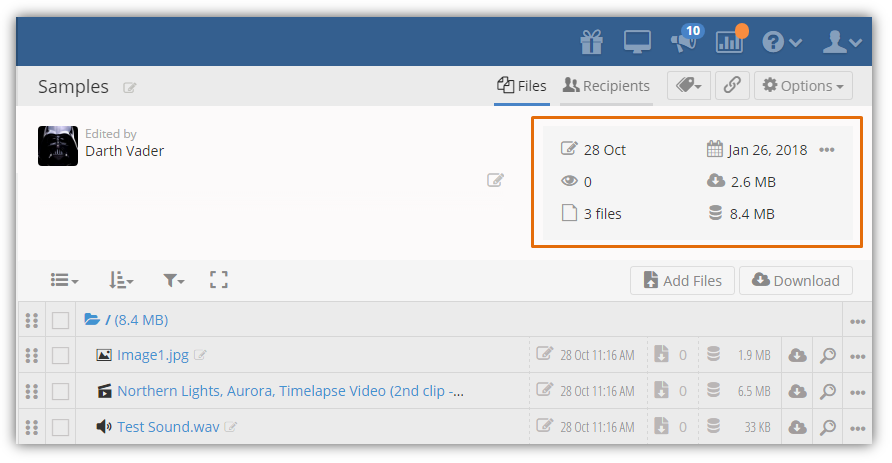
- To change uploaded files' expiration date, click the Calendar icon. The Change Auto-Expiry window appears.
- Click the preferred expiry date to select.
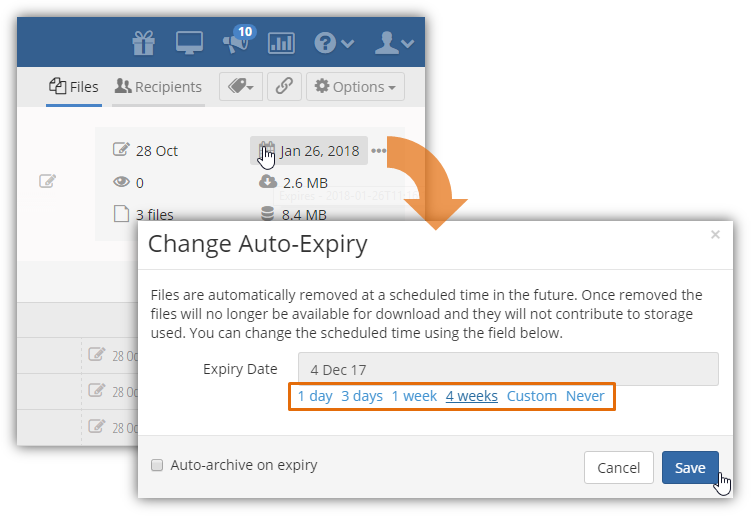
- To move the files to the Archived server on expiration, click the Auto-archive on expiry checkbox.
- Click Save to save the changes.
Comments
0 comments
Please sign in to leave a comment.