The Desktop Application's Transfers tab has been updated with a new feature. The Upload Settings' Timeout fields enable you to set default connections, send and receive timeouts. Each field lets you configure the timeout settings by selecting from the drop down menu. The instructions below will guide you on how to use this feature.
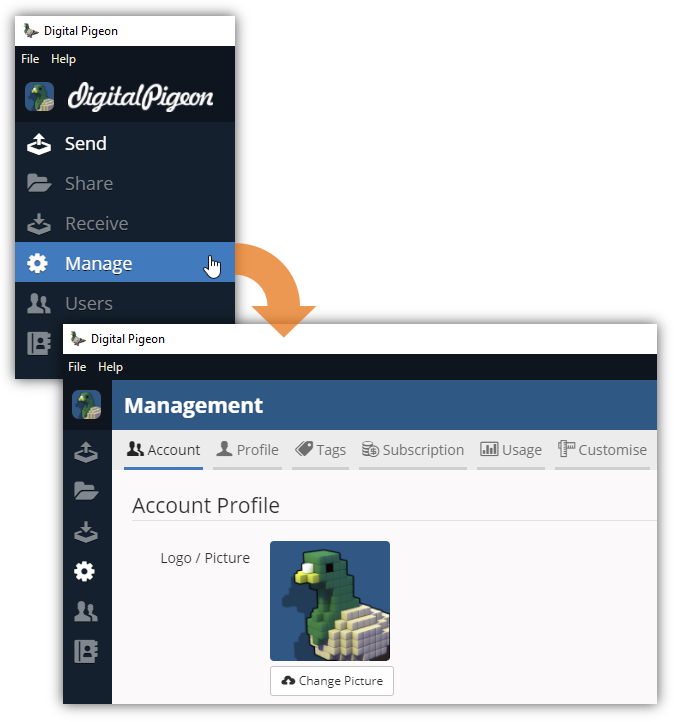
- On the Sidebar Menu, click Manage to open the Management page.

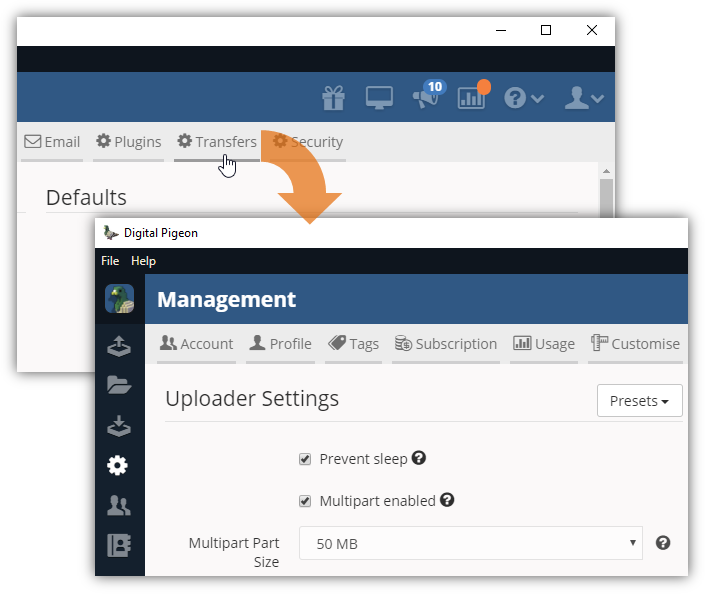
- Find and click the Transfers tab. This opens the Transfers tab where you can configure the transfers/uploads configuration.

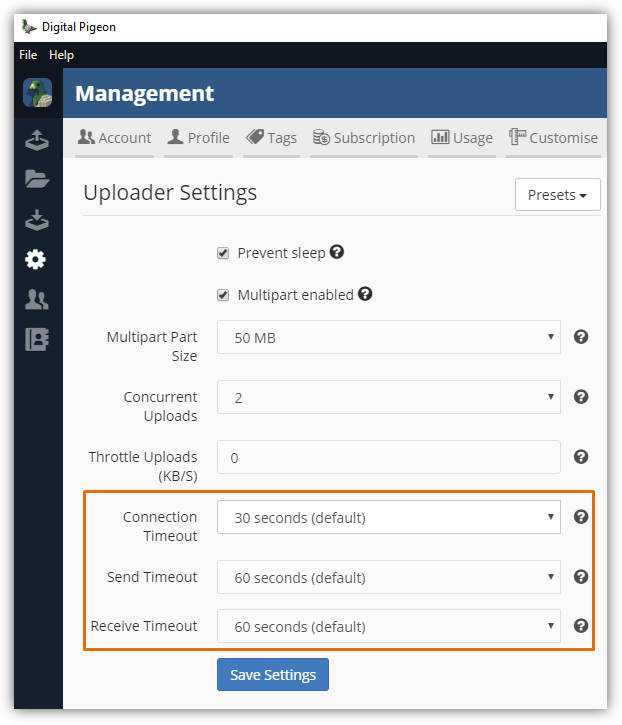
- Locate the Uploader Settings section and find the Timeout fields. These fields allow you to set upload timeouts for these parameters:

- Connection Timeout: click the drop down arrow to select the default connection timeout. The selected value will be the number of seconds the application will wait for a new connection to be established before giving up and trying again.
- Send Timeout: click the drop down arrow to select the default send timeout. The selected value will be the number of seconds the application will wait for an acknowledgment of sent data before giving up and trying again.
- Receive Timeout: click the drop down arrow to select the receive connection timeout. The selected value will be the number of seconds the application will wait for receive data before giving up and trying again.
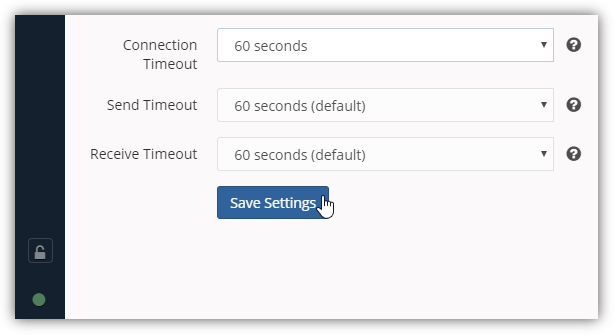
- Review the default upload timeout settings and click Save Settings to apply the changes.


Comments
0 comments
Please sign in to leave a comment.