Widgets are embedded in your website using Widget Codes generated from the Widget Editor. These codes need to be pasted into the HTML of your website for the widget to function. There are two (2) types of widgets; In-page and Pop-up window. Both have the same usage but differs on how you use them. See In-page/Pop-up Window Configuration. 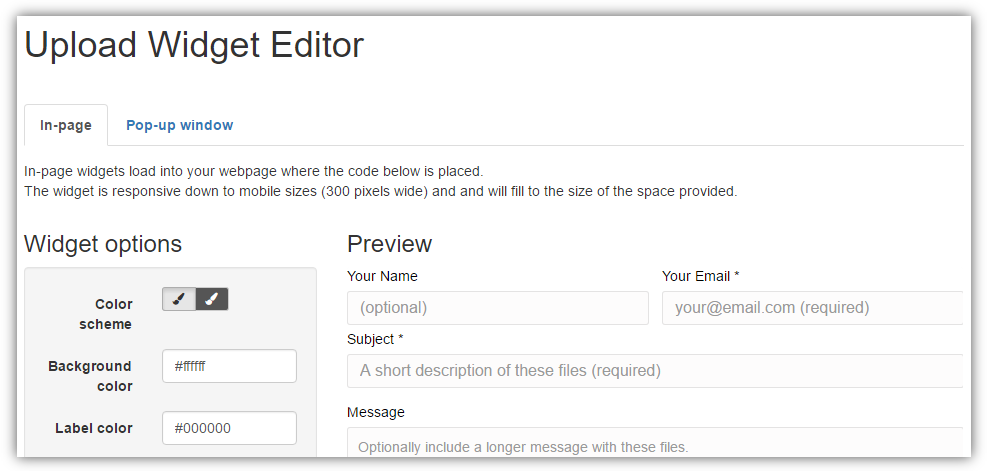
What this does is it adds an Upload Form to your website which allows anyone to send you files using the form.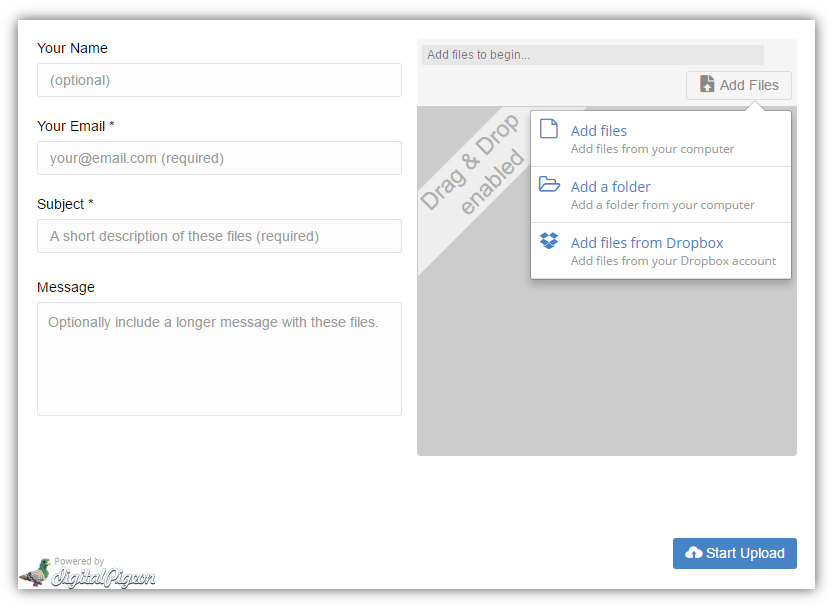
Using Digital Pigeon's widget editor, it enables you to design and brand your widget to match your organisation's branding. It also allows you to include Advanced Options and manage Integration Options. See Widget Editor.
The Receive upload pages, on the other hand, lets you receive files from others using your own branded upload page and hosted by Digital Pigeon. Like widgets, anyone can send files to you even if they don't have a Digital Pigeon account, but instead of embedding the upload form to your website, you can share the links you created and they will be able to upload files in no time.
The Receive Upload page works like this:
Get the link from the Receive Links Dashboard; you can access the dashboard through the Receive feature on the Sidebar menu.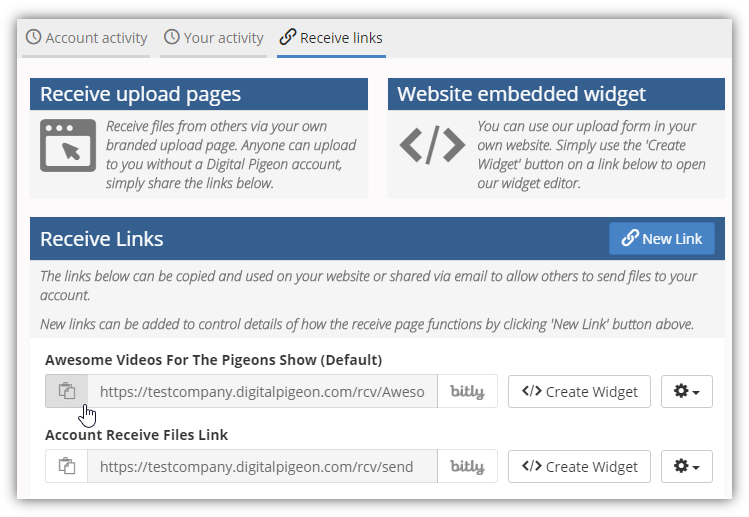
In the Receive Links section, find the link in the list and click the Clipboard icon to copy the link. Once you have copied the link, you are now ready to share it. In this example, we emailed the link to other people who would use the link to send you files.
After receiving the link, the person(s) who got your email may now use the link simply by clicking it. After clicking the link they will be directed to the Upload page where they can start uploading the files.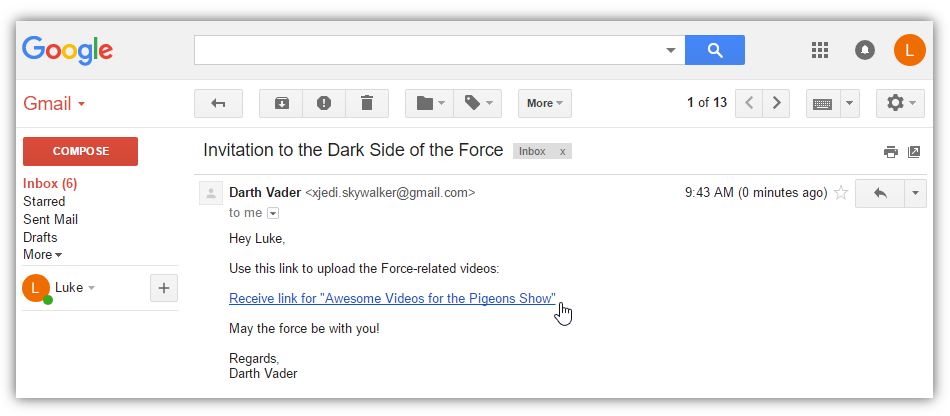
Once they activated the Upload page, they can specify the uploaders' information and upload the files.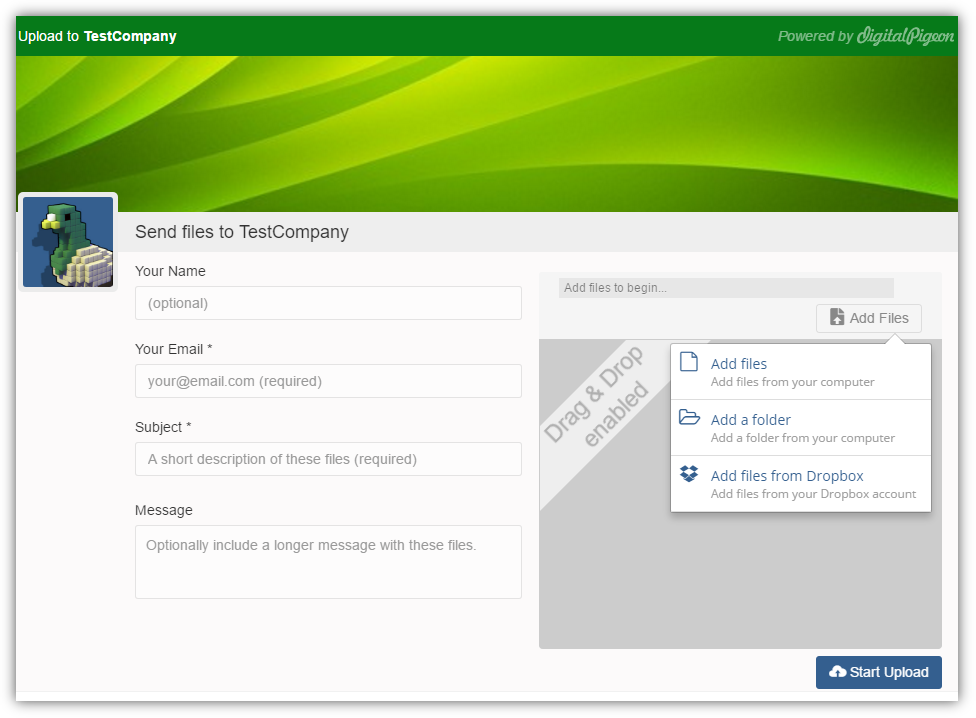

Comments
0 comments
Please sign in to leave a comment.